Cutting Up - Part 2: Positioning and Snipping
/
In our last post, we explored the different types of scissors available for young children and talked about setting up some safety guidelines so that you can be more comfortable with your child using scissors at home. Now, let's delve into the how-to's.
Positioning Scissors On Your Hand-What Goes Where?
You've done it for so long that it seems like second nature to you, but for a young child who is just learning to cut, getting the scissors on their hand the right way can be the hardest part of the whole process!
You and I both intuitively know that your thumb goes in the small hole, but that is not quite as obvious to a child. And since the scissors will open and shut either way, it probably doesn't seem like such a big deal to them. But, when it comes to performance and cutting accuracy, it really is a big deal, so let's take a few minutes to teach them the correct way to hold scissors.
1. Show the child the scissors and point out to them that one hole is smaller than the other hole. That one is for the thumb and their other fingers go underneath.

2. Then, hand them the scissors by holding the blades and extending it to them the way you would a hand shake. In this position, they automatically reach for the scissors with the right fingers going in the correct holes. Reinforce with words--to put their thumb in the little hole and the rest of their fingers underneath, helping them as needed.
3. Practice that a few times, then let them try picking the scissors up from the table on their own and positioning them correctly. Be sure to always remind them that the "thumb goes on top".
4. Repeat this process as often as needed and certainly at the beginning of every cutting session for a little while.
One of the most common mistakes children make even after getting their fingers in the correct holes, is that they turn their hand upside down when the begin to cut -- with the thumb under the paper. This is very awkward and makes accurate cutting much more difficult. One of my favorite and most successful cutting tricks is to draw an eye on the top of the thumb hole. This not only shows them where to place their thumb, but comes in very handy when those scissors "become an alligator", snipping their way across a river. Keeping the eye ON TOP helps the alligator to see where he is going and the hand in the correct position.
Snipping Comes First
As with all learning, cutting with scissors is also developmental. After positioning scissors on their hand, your child is ready to begin cutting. Getting used to the open and shut movement of the blades takes some practice, so those spring-assisted scissors are really help, especially for very young children. Before learning to cut on a line or even randomly cutting across a sheet of paper, they need lots of practice to gain control of that movement and snipping is the perfect way to practice. Since it is a two-handed activity, there are many things to think about and to coordinate in the simple act of snipping, so practic, practice, practice.
Thin paper, like printer paper or newspaper might seem like the natural choice for ease of cutting, but it is actually more difficult to cut since it is so flimsy. Choosing a slightly heavier paper, such as construction paper, cardstock or the cover from a magazine is much easier for a child to hold and cut.
You will probably notice that your child grimaces or tries to use all their strength at first, thinking that will help with the cutting. After all, to them it looks like you are performing some sort of act of super-human strength by breaking that paper into pieces!!

A little bit of hand-over-hand assistance for this young cutter.
You will need to demonstrate to them that the scissors will do the hard part, all they have to do is open and shut them. Then let them try, with some hand-over-hand help at first, if needed.
Here are some fun ways for your child to practice snipping:

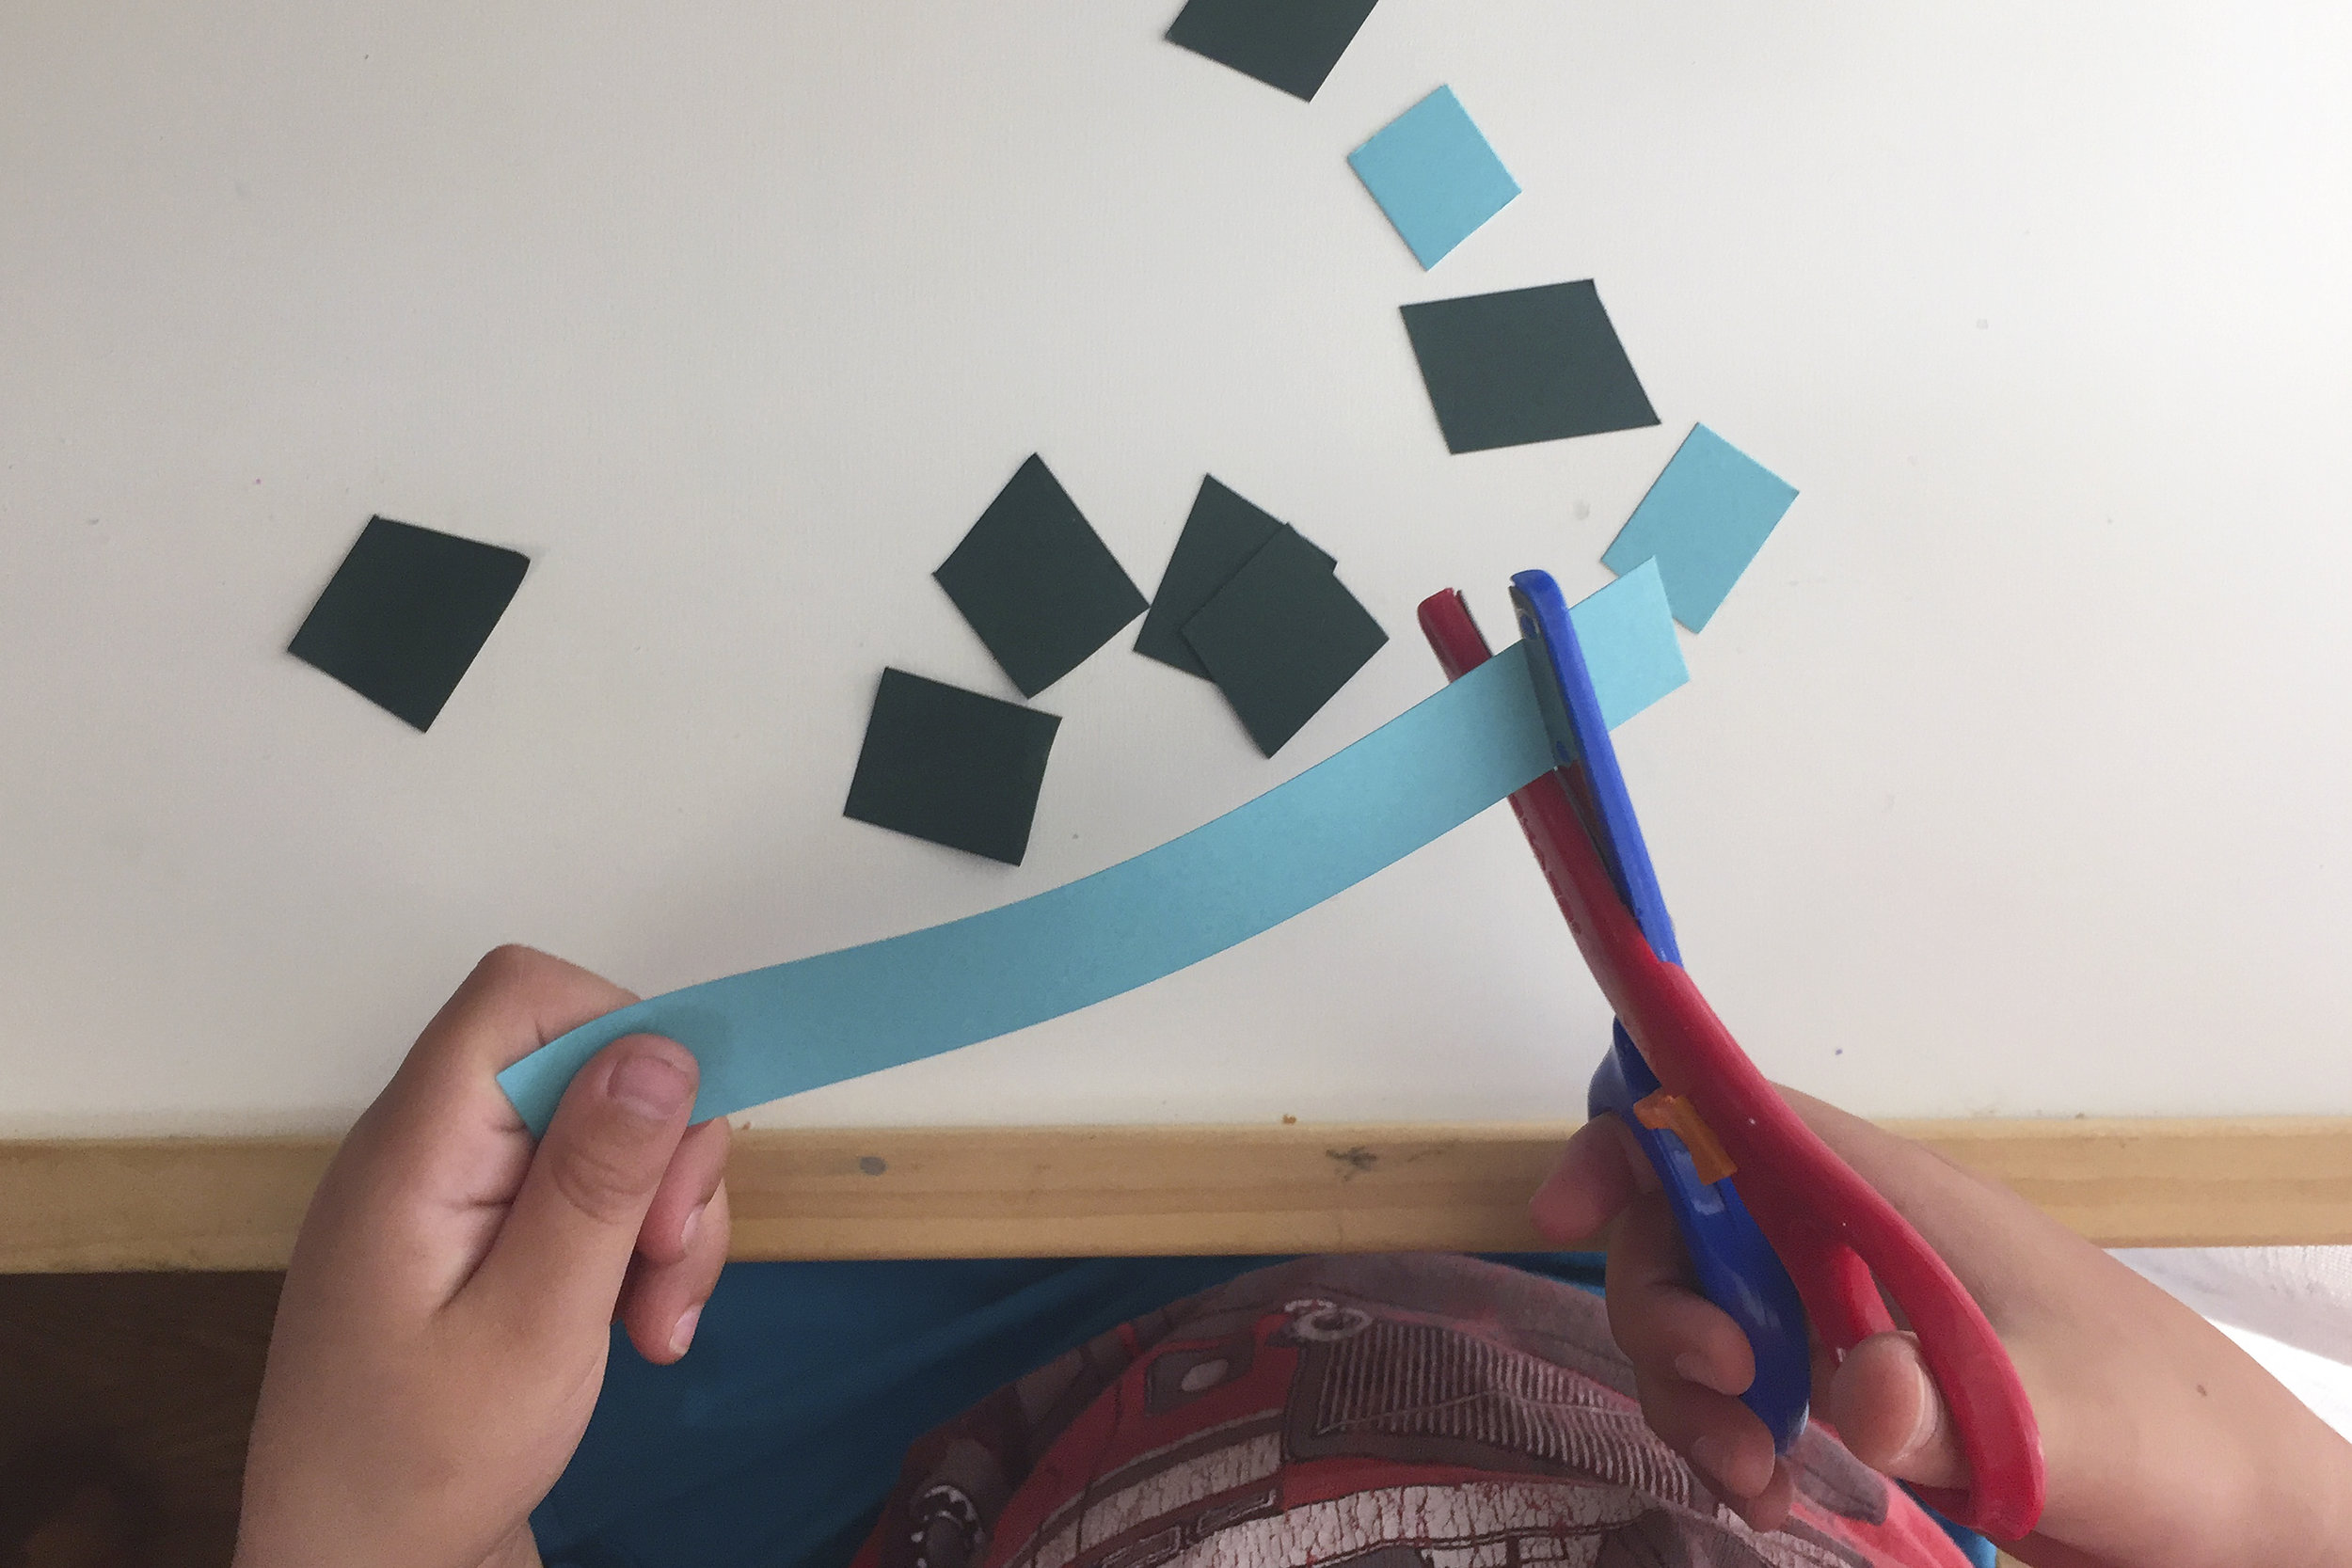
* Strips of paper - Provide strips of paper and let them cut it into tiny pieces

* Play-doh - Help them roll a long, skinny snake of play-doh, then cut it into tiny pieces. Kids LOVE to do this over and over again and it is great because they can practice snipping with a totally different texture. (We used the play-doh spaghetti maker to make these snakes.)

* Make grass - Cut a sheet of green paper into half lengthwise. (This will give you 2 sets of grass.) Let them snip across one of the long edges of the strip, creating a fringed "grass" effect. Glue it onto another sheet of paper and use crayons to add a sun, flowers, etc.


* Paper haircut - Draw a face on a sheet of paper with long, straight pieces of hair. Cut it out, cutting down the hair to create strands as shown above. Let your child use their scissors to snip the hair, giving them a haircut. My grandson LOVES this and will do as many faces as I will draw. :-)

* Party flags - Using brightly colored paper, let your child snip across the short edges of each sheet of paper. Tape the opposite end of each page to a piece of ribbon or string, creating a party banner. You can even add letters or words to each piece of paper! (Check out the banner we made at the top of this page!)
If you child is like most children, they love cutting. It can get a little bit messy from time to time, with little snips being scattered about on the floor, but it is easily cleaned up and worth it to strengthen those little muscles.
