Learning to Write - Proper Pencil Grip Tips
/I mentioned before how much my oldest daughter loved to write, but actually, both of them loved to color and create from the time they were very very young. While I didn’t always love the mess it created, I did love to encourage their creativity, so I made what we referred to as “The Art Cabinet”. In the kitchen, I cleaned out one lower shelf and filled it with paper, pencils, crayons, water-based markers, tape and stickers. They could use those materials to draw, cut, etc to their hearts’ content, as long as it stayed in the kitchen, where there was a hard floor that was easy to clean. I was generally in the kitchen at the same time as them, so it kept them busy while I cooked, cleaned or did my own projects at the table. Win-win! Once they were old enough to understand how scissors and glue worked (by 3 years), I added those to the center as well. Old magazines, coupons from the table and junk mail often wound up in there, too, and the girls loved it making “mail” and “art”.
I think that access to those supplies and the freedom to explore them was crucial in their fine motor development. And I didn’t wait until they were 4 years old to let them begin trying. They could freely use crayons and markers and pencils by the time they were 2 years old. Of course, at that age, it was all free play without worries of what their pictures/writing looked like or how they held their writing implements. Once they reached about 3 years of age, I began adjusting the grip in their hands to a pincer grip (without making a big deal of it), so that they could begin to get used to feeling it in their hands the correct way. It is also important to encourage them to use their “helper hand” to hold the paper still.

While teaching in the school system, I tried to do the same things with young children and when it was really difficult for some students, I tried a special trick that generally seemed to work:
* Have them make a fist (you do it and they imitate).
* Let the thumb and pointer out of the fist (this is difficult for some children, so it may take practice). If you find it very difficult to isolate just those fingers, check below for some suggestions. If they know the alphabet, you can tell them to make a capital L.
* Place the pencil/crayon/marker in their fingers and ask them to “pinch it with their thumb and pointer.
* I always tell them to make a “bumpy finger” with their pointer, so that the middle joint is bent and the tip of the finger is on the pencil, rather than wrapped around the pencil.

This type of pincer grip takes practice and if your child has been holding it in a different way for a long time, it will feel awkward at first. Now see if they can hold the grip while coloring/scribbling.
Here are some other ways you can encourage a proper grip:
* Play a “freeze” game. Each of you have a piece of paper. After each of you take the time to make the proper grip, you say “go” and begin coloring, scribbling, drawing or whatever. Randomly say “freeze” and check each part of the other’s grip. Adjust, if necessary, then quickly begin again. Make it fun!!
* Use broken crayons. This may sound really weird, but don’t throw away all those little pieces of crayons. Using a very small piece of a crayon actually encourages a pincer grip since it is impossible to hold it in their fist while they also write.
* These “flip crayons” are available made by Handwriting Without Tears. Because they are small, automatically encourage a pincer grip. You can get them in bulk on Amazon or in smaller quantities directly through the HWT website.

* Use those same little 2-ended crayons to play “flip the crayon”. Have your child hold one in their hand with proper grip. See if they can flip it to the other color, using only their fingers in that hand (don’t use the other hand to help). This is really difficult for young children, but helps them learn to isolate their fingers to work independently from each other - an important skill to learn!! I have found larger Flip Crayons at Dollar Tree, so they would be great for older kids. (Here's a little video showing how this is done.)
* Use triangular shaped pencils and crayons. The pencils I use the most are large triangular pencils, but Handwriting Without Tears makes some great small pencils, too.


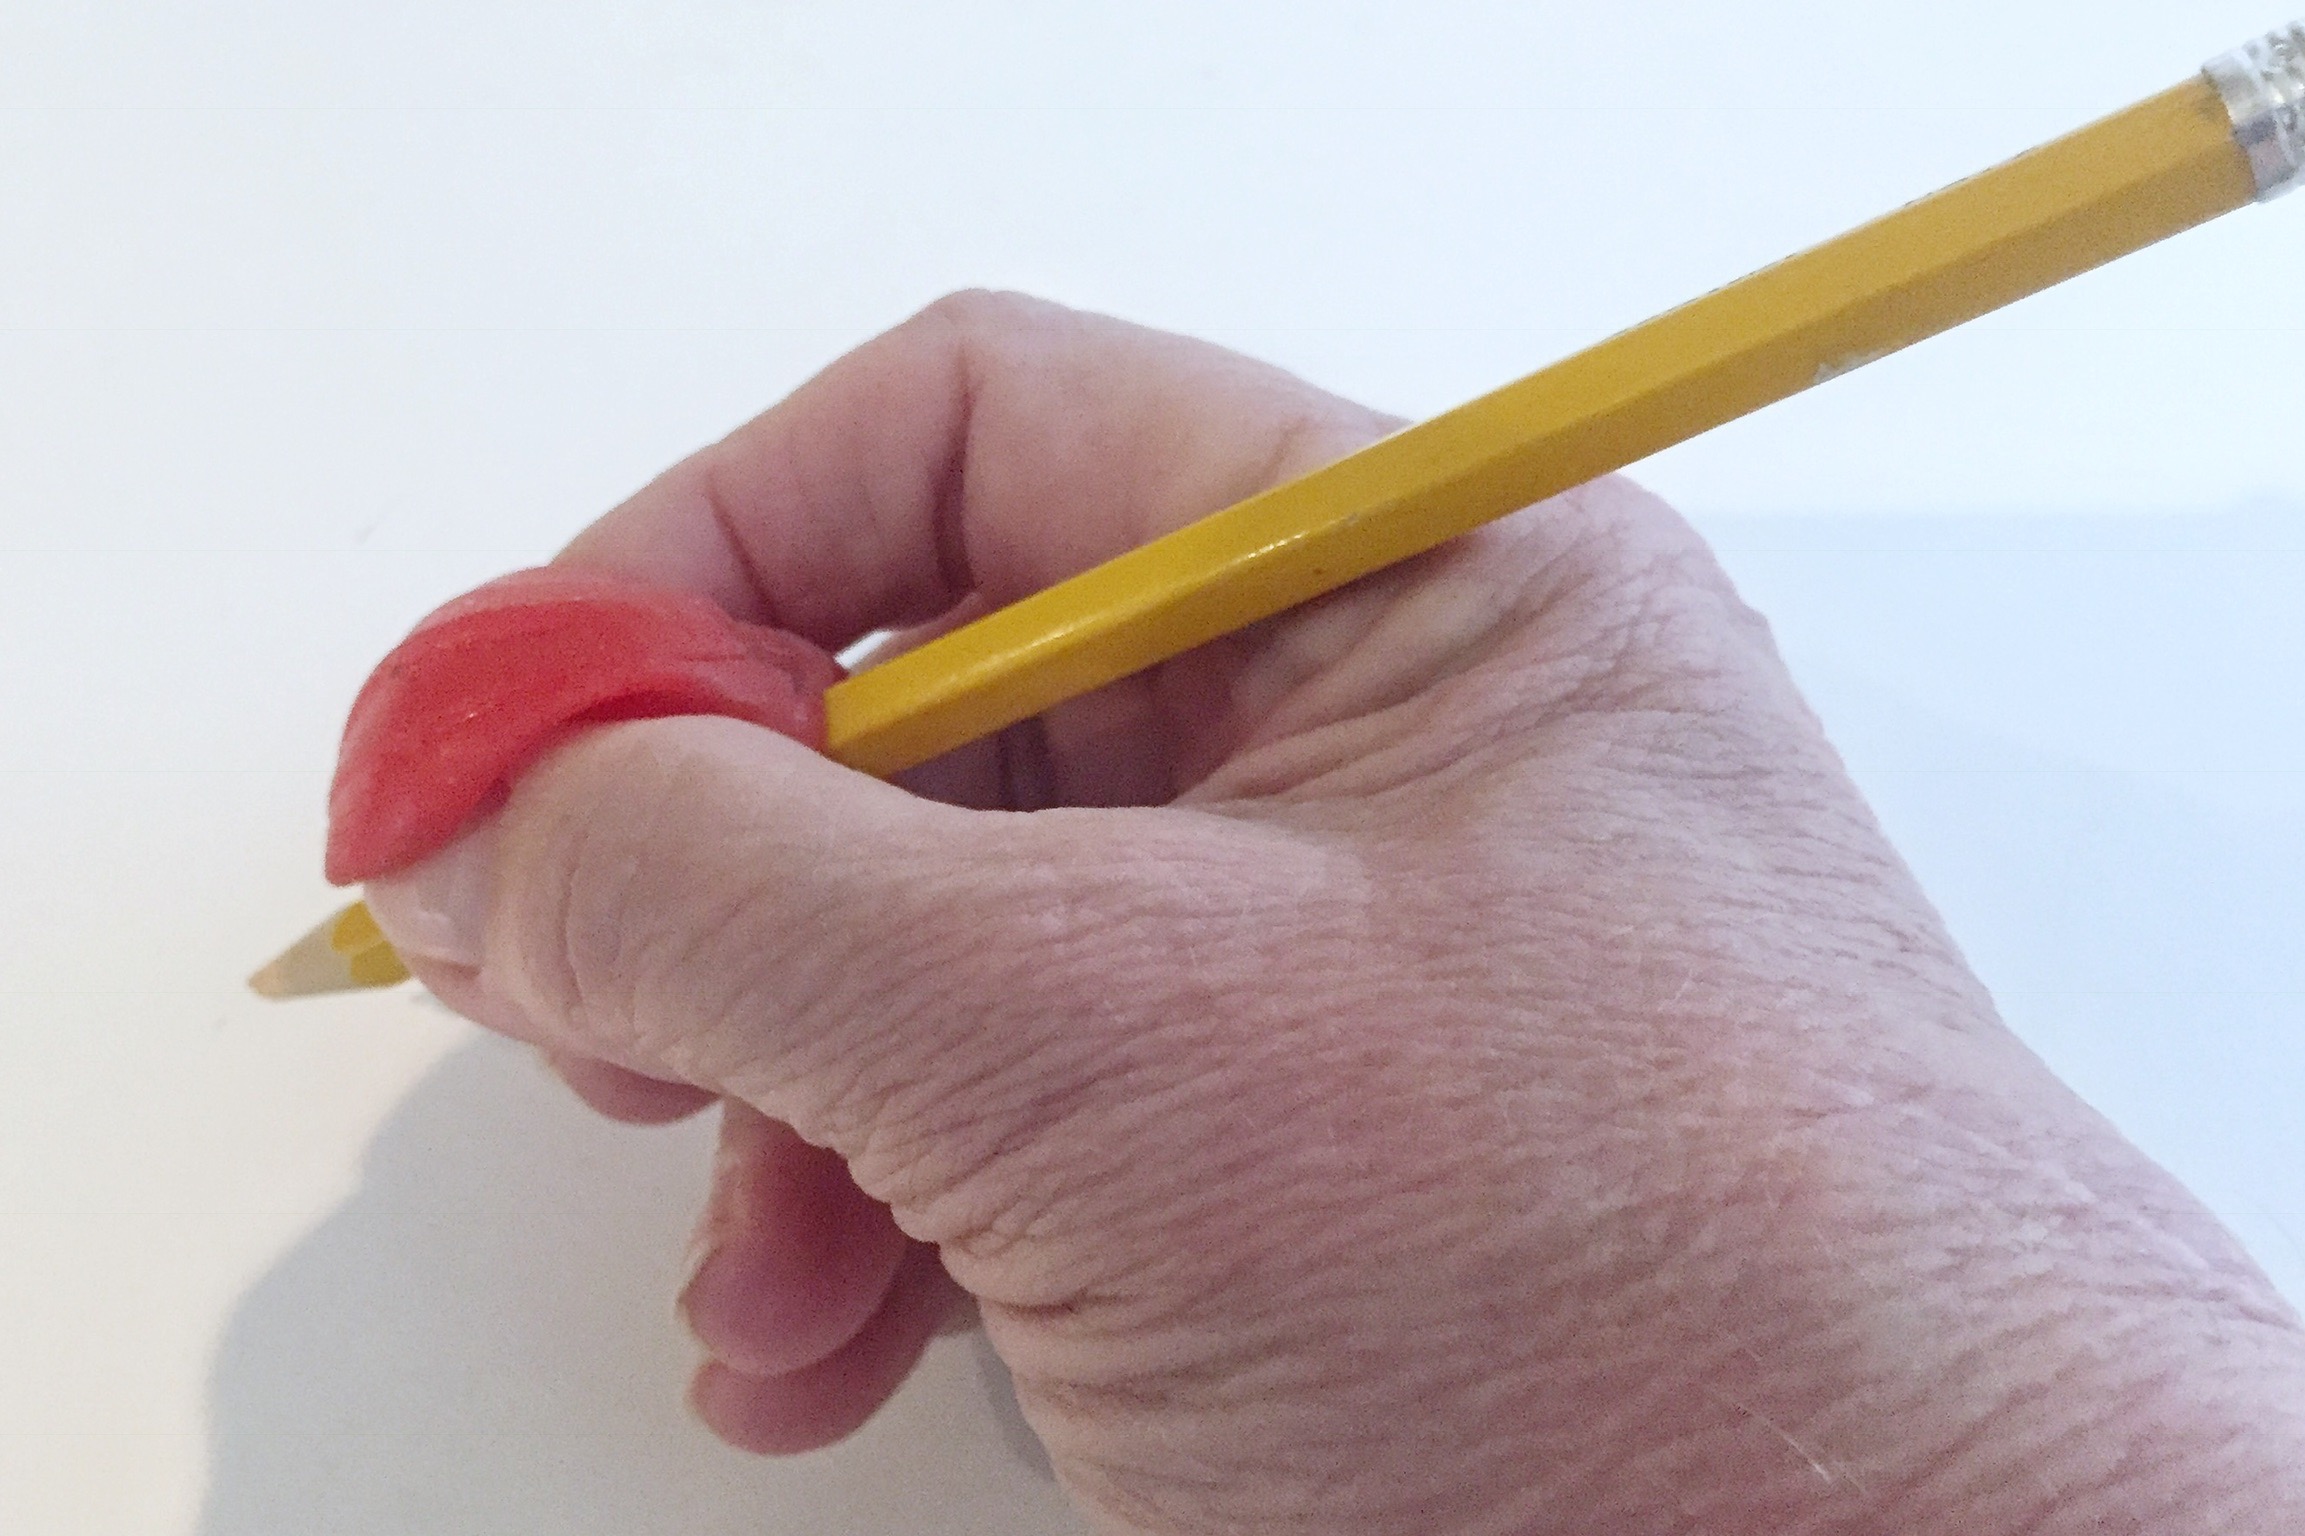
* Use a pencil grip. This one is my favorite because it is soft and a little squishy and prevents their fingers from wrapping around the pencil/crayon. They have a tiny R or L imprinted on them to show how to put them on the pencil for right or left-handers. (Mine are definitely well-worn.) There are many other styles available and they are inexpensive, so you can experiment to see which kind works best for your child.

* If you don’t have a pencil grip available, you can actually use a binder clip.

Clip it onto the pencil. Pointer finger goes on the “spine” of the clip, while the thumb and forefinger go on each side.

We've covered a lot of prerequisite skills so far and given you lots to think about, but still haven't even touched on the actual writing. In the next post, we'll delve into letter formation and some fun ways to practice.
